

Restore Old Photos Fast With AI Tools
Old family photos often sit in dusty boxes, slowly losing their color and clarity. You might have a picture of your grandparents that is torn or faded beyond recognition. Modern technology now allows you to bring these memories back to life without needing professional darkroom skills. Using AI Photo Restoration makes it possible to fix cracks, remove stains, and sharpen blurry faces in just a few clicks.
You don’t need to be a professional graphic designer to get great results anymore. Many people use specialized tools like AI Photo Restoration to handle the heavy lifting of repairing pixels. These systems look at the damaged parts of your image and predict what should be there based on millions of other high-quality photos. It is a fast way to preserve your family history for the next generation.
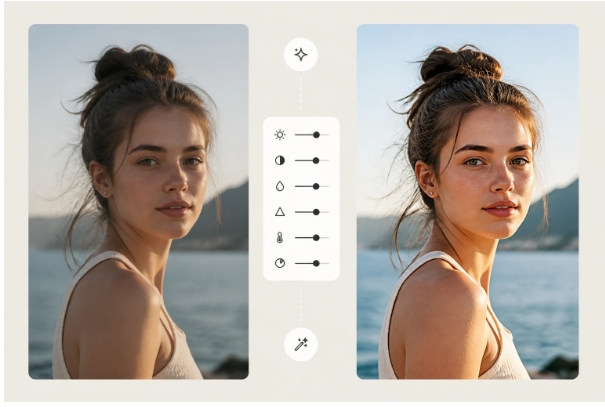
If you want more control over the final look, you can try the EzMaker AI Image Editor to adjust specific details. This tool helps you fine-tune the brightness and contrast after the initial repair is done. Having a reliable editor ensures that the final image looks natural and stays true to the original moment. You can fix small errors that the automated process might have missed.
Step 1: Prepare and Scan Your Physical Photos
The first step in any restoration project is getting a high-quality digital copy of your physical print. If you have a flatbed scanner, that is the best option for capturing every detail. Make sure you clean the scanner glass with a microfiber cloth to remove dust and fingerprints. Even small specks of dust can look like major damage once the image is enlarged on a computer screen.
Set your scanner to a high resolution, usually measured in DPI or dots per inch. For a standard 4×6 photo, a setting of 600 DPI is excellent. This gives the software enough data to work with when it starts repairing the image. If you only have a smartphone, use a photo scanning app that helps remove glare. Keep the phone steady and ensure the lighting is even across the entire surface of the picture.
Step 2: Upload Your Image to the AI Tool
Once you have your digital file, you need to upload it to the restoration platform. Most modern tools allow you to drag and drop the file directly into your browser. The AI will then analyze the image to identify different types of damage. It looks for physical tears, water stains, and chemical fading that happens to old paper over time.
During this stage, the software creates a map of the photo. It distinguishes between the subject of the photo, like a person or a house, and the background noise. This helps the AI focus its power on the areas that matter most. You might see a progress bar as the neural network begins to process the complex layers of the image.
Step 3: Select Restoration and Enhancement Features
After the upload is complete, you will usually have a few options to choose from. Most AI tools offer a scratch removal feature that automatically fills in lines and cracks. This process is called inpainting. The computer looks at the pixels surrounding a scratch and fills the gap with matching colors and textures.
You should also look for a face enhancement or face refinement option. Old photos are often blurry or out of focus. The AI can rebuild facial features by recognizing patterns like eyes, noses, and mouths. This makes the person in the photo look much clearer without making them look like a cartoon. It is one of the most powerful parts of modern image repair.
Step 4: Apply Colorization to Black and White Images
If your photo is black and white, you can choose to add color. The AI has been trained on millions of color images to understand what different objects should look like. It can identify grass as green, the sky as blue, and skin tones with surprising accuracy. This adds a new layer of life to photos that were taken decades ago.
You can often adjust the intensity of the color. Sometimes the AI might make the colors too bright, so you may want to turn them down for a more vintage feel. The goal is to make the photo look like it was taken yesterday with a modern camera. If the AI guesses a color wrong, you can usually use an editor to shift the hue of specific areas.
Step 5: Review and Save Your Restored Masterpiece
Before you finish, zoom in on the photo to check for any weird artifacts. Sometimes the AI might get confused by a complex pattern and create a strange shape. If everything looks good, you are ready to save the file. Always save your restored photo as a new file so you do not overwrite the original scan.
Use a high-quality format like PNG or TIFF for your final save. These formats do not lose quality every time you open and save them. JPEG is fine for sharing on social media, but it compresses the image and can lead to a loss of detail over time. Keep your digital files organized in folders by year or family name so you can find them easily later.
Tips and Best Practices for Better Results
To get the best results, you should always start with the cleanest scan possible. If the original photo has loose dust, gently blow it off or use a soft brush before scanning. Do not use water or cleaning chemicals on old photos because you might ruin the emulsion. The better the input, the better the AI can perform its tasks.
Another good tip is to work in stages. You do not have to fix everything at once. Sometimes it is better to run the scratch removal first, save the image, and then run the colorization as a separate step. This gives you more control over how the AI interacts with the pixels. If you are working on a large collection, try to use the same settings for photos taken at the same time to keep the look consistent.
Lighting is also vital when you are viewing your results. Look at the restored photo on a screen with good brightness and color accuracy. What looks good on a dark phone screen might look different when you print it out. If you plan to print the photo, do a small test print first to see if the colors match what you see on your monitor.
Common Mistakes to Avoid
One of the biggest mistakes people make is over-processing the image. It is tempting to turn all the sliders to the maximum setting, but this often leads to a plastic look. Faces can lose their natural texture, and the photo might look fake. It is usually better to leave a little bit of the original grain to keep the authentic feel of an old photograph.
Another mistake is ignoring the background. People often focus so much on the faces that they forget to fix the sky or the ground. A perfectly clear face next to a giant water stain in the corner looks distracting. Make sure the entire image receives the same level of attention during the restoration process.
Do not skip the backup step. Digital files can be lost if a hard drive fails or a cloud service has an issue. Always keep at least two copies of your restored photos in different places. You might keep one on your computer and another on a thumb drive or in a cloud storage account. This ensures that your hard work and family memories are safe for a long time.
Conclusion
Restoring old photos used to take hours of manual work in a darkroom or a complex editing program. Now, anyone can use AI to bring back the details of the past. By following a simple workflow of scanning, uploading, and enhancing, you can save your family history from fading away. These tools are getting better every day, making it easier to see the faces of ancestors in high definition.
Start with one or two photos to get a feel for how the software works. You will be surprised at how much detail is hidden under those scratches and stains. Once you see the results, you will likely want to go through all your old albums. Taking the time to digitize and repair these images is a wonderful gift for your family and future generations.